Adding a Airprint printer // Canon Selphy 1300

Step 1
Connect the power cord to the printer. Tap on ‘wifi settings’. Press ‘OK’.
Step 2
We use the direct connection method in this example. Select Connection Method ‘Direct connection’. Press ‘OK’.


Step 3
Choose if you want to use a password to protect other users from using the printer. In this example, we don’t want to use a password. So we select ‘off’. Press ‘OK’ to confirm.
Step 4
The printer is ready to use. You can find the name of the wifi network that the printer created on the screen.

Step 5
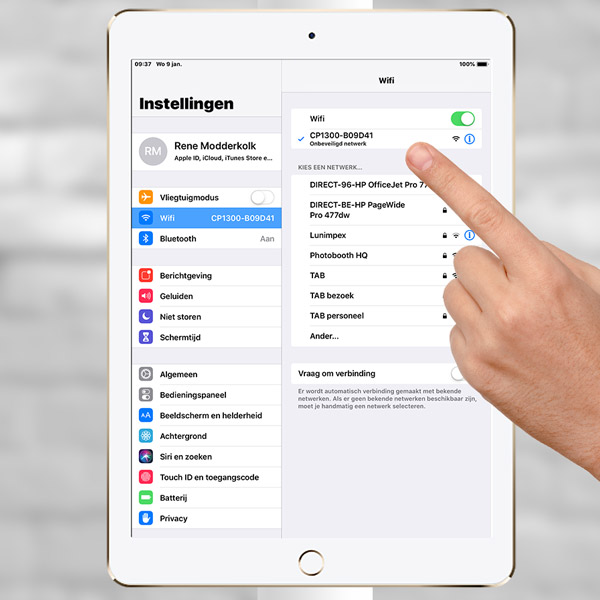
On the iOS device, go to ‘Settings’ and ‘Wifi’. Select the wifi network of the printer.
Step 6
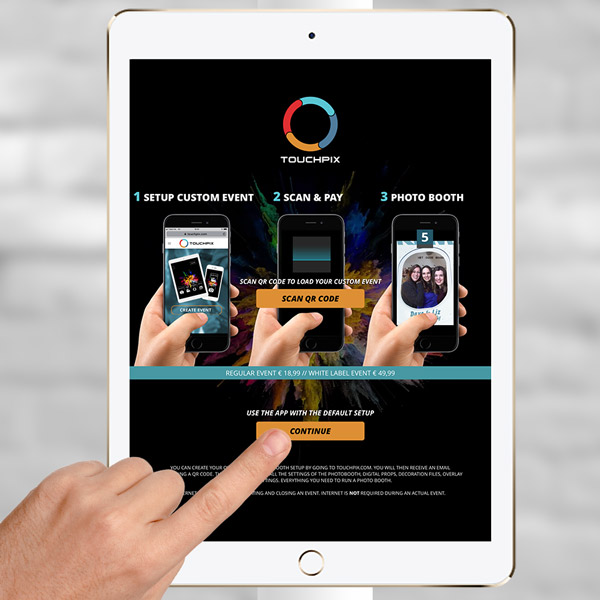
Open the Touchpix app. Tap ‘Continue’ to enter the default tryout event.
Step 7
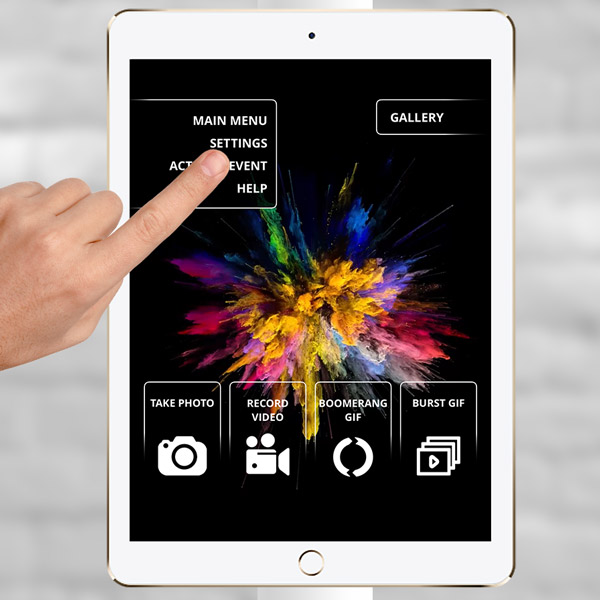
In the upper left corner tap on the ‘+’ icon and ‘settings’ to go to the general settings screen.
Step 8
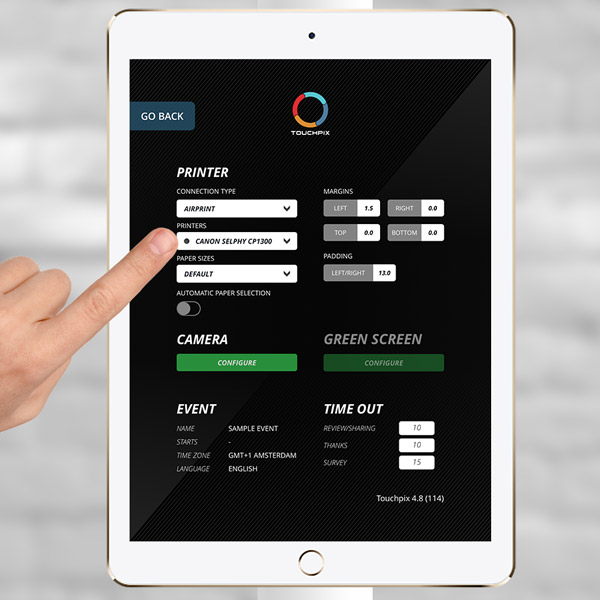
Choose these options in the printer section.
Connection type = Airprint
Printer = Canon Selphy CP1300
Paper size = Default
Step 9
Your photo booth with printer is ready.
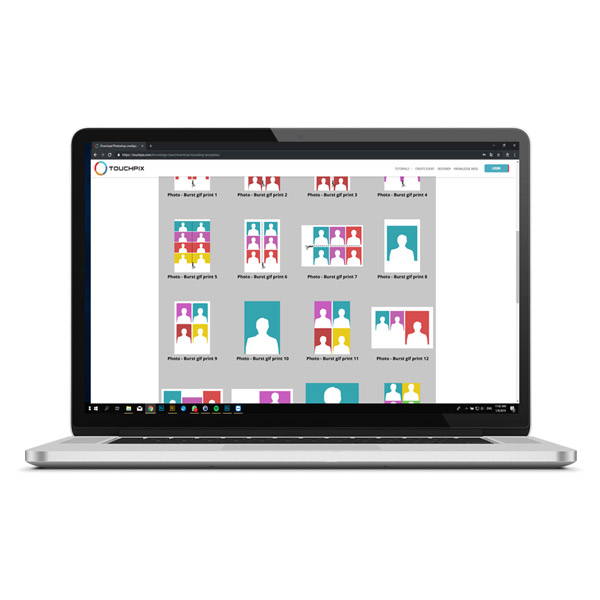
This printer can only print the 4×6″ paper size. It cannot cut these prints to create photo strips (2×6″). It is recommended to add 6×4″ print template 8-14 or 16-17 to your event for an optimal result.
